Setting up a mold is time consuming and tricky. It just is what it is. And setting up a master mold is going to take even longer than normal. All other molds are dependent on this one so now’s the time to be a perfectionist 😉
My handle is destined to be a two part mold because of undercuts, which means I will need to take a cast of both sides of the handle. No problem—we’re going to do this by first burying one side of the handle (up to the midpoint) in clay to take a cast, and then flipping the mold to take a cast of the other side.
Pro-Tip: I built the master mold atop a piece of wood so that its movable. With all the intricacies of securing a 2 part mold and making sure the seams are smooth and tight, building on something moveable is super helpful.

Okay, so I buried one side of the handle right up to its middle point, making sure it was level and that the clay was level too. I did this by using my slab roller (set to my desired thickness) to roll out a level piece of clay into which I traced my handle shape. Now I can divide the outside of the handle piece of clay and the inside, sandwiching them between the handle.

I also added some clay pour regions (as seen in the first pic) that will eventually catch extra slip that I’ll be able to cut off after slipcasting. I'll go ahead and attach these once my handle is secured.
Attention to detail is key during this stage of smoothing. Some people use a cheap clay to build their clay dividers out of, but I use my throwing body, both because I had that clay on hand and because I’m familiar with how it behaves.

Okay, everything looks great and now its time to set up the mold box. This is the part that always makes me nervous! Over the past 5 years I have quite the history of having these leak and getting plaster everywhere. I was determined to not let that happen. First I closed up the seams on the inside of the box with smoothed coils. Both the base and the walls get coils-- basically everywhere plaster could possibly escape. Next, I used both hot glue to glue the walls down on the outside of the cottle boards, as well as clay coils. This is a bit over the top, but the peace of mind was worth it to me.

Also, and this is IMPORTANT-- before the plaster is poured, I made sure to add mold soap to make sure the handle would not attach to the plaster. I used Murphy’s oil soap and applied 3 or 4 fully dried layers, making sure to not make suds (because those suds will create plaster bubbles if you don’t let it dry). Book about an hour or 2 for this step. It's important to let the coasts dry in between. Also, I painted the clay with oil soap to help make sure the clay wouldn’t dry out while I waited.
Okay Im ready to go! Let’s pour baby pour!
*I don’t have pictures of this because once you mix, you’re on its clock*
But let's talk about plaster real quick. I mix my plaster with warm water to help set it up faster. Now I know most people will say to mix plaster with cold water but I don’t because I’m impatient. To each their own. I also use a mixer (paint mixer attachment to a drill) to mix my plaster and that takes 45 seconds of mixing, so I’m able to do the mixing step way faster than if I was just using my hands.
Before I started to just go for it and pour all the plaster into the box, I took a crappy brush and gently painted the handle and clay with some of the plaster. This will just make sure that air bubbles will not stick directly to the molded piece.
After I do that (it sets up very quickly) I go ahead and pour the plaster in from one corner and watch that white liquid rise to the top! I like to give 1 inch clearance from the end of the casting.
And now I beat the mold. No really! I smack the walls (gently) and the bottom of the table on which I built the mold to help get any air bubbles out. I've got about 5 minutes of working time to do this before the plaster sets up and the air bubbles are not able to escape anymore.
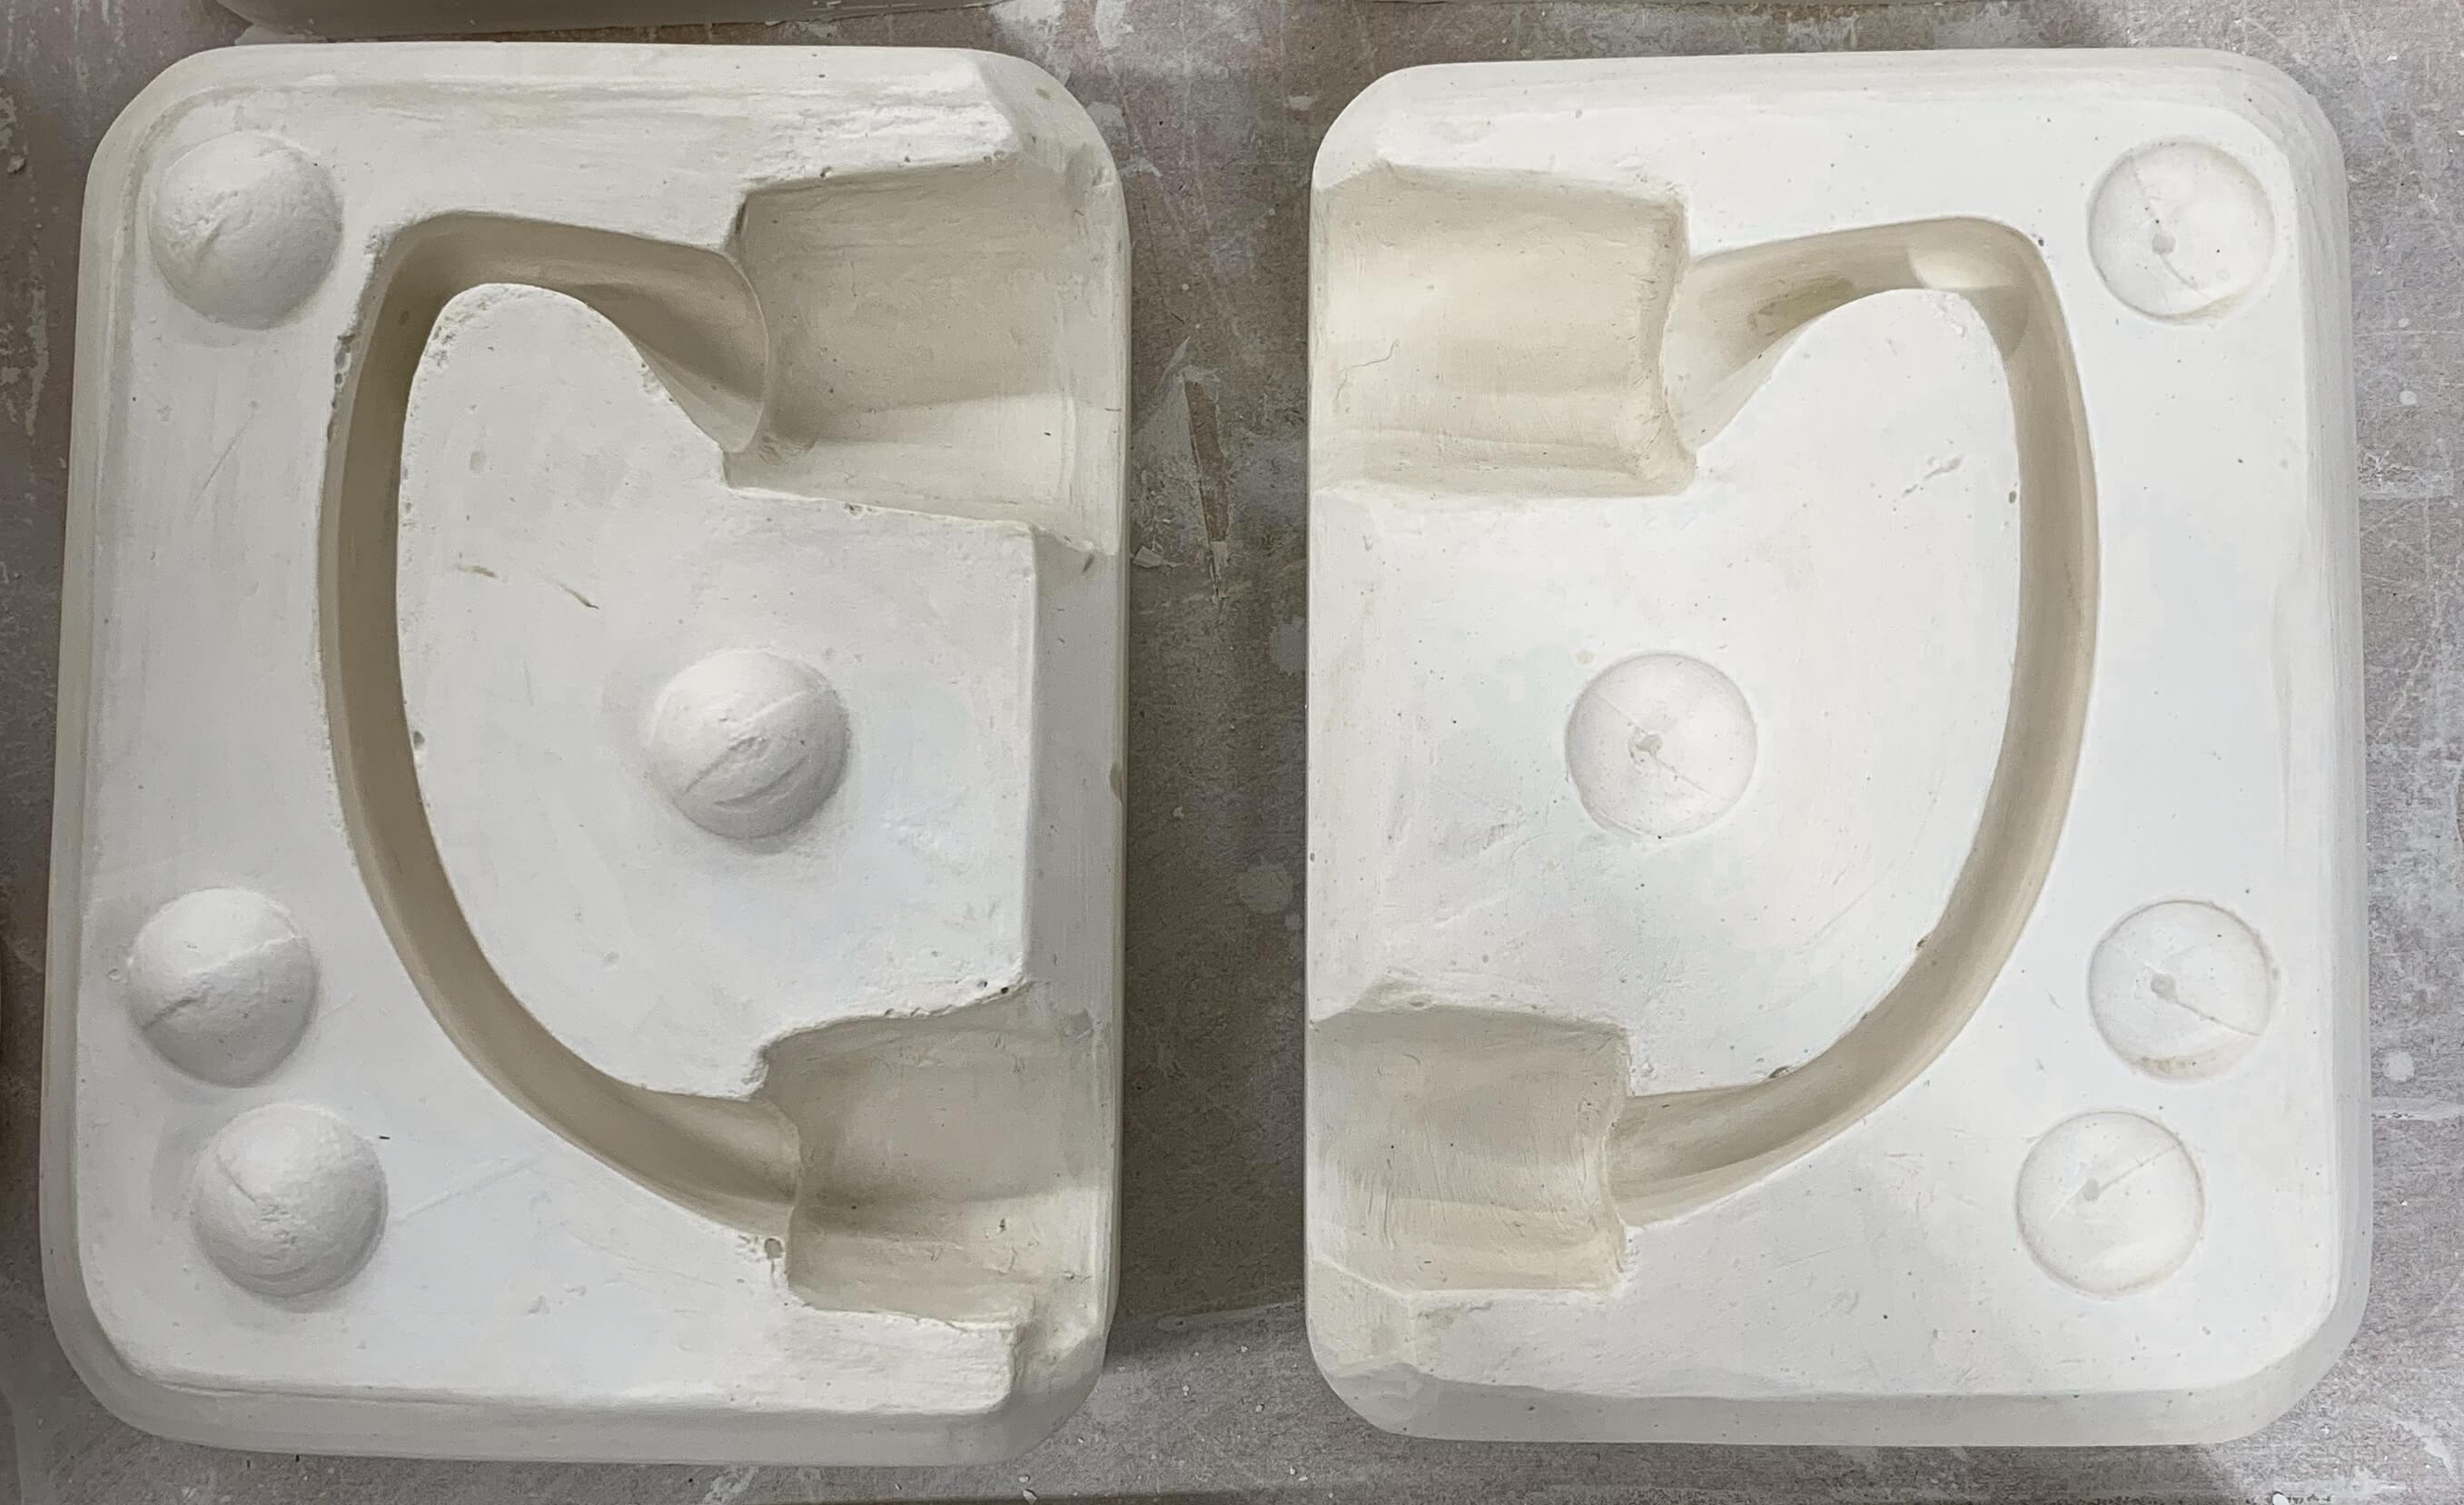
After about 20 minutes, the plaster is set and be ready to unbox. I undid the box and cleaned up the plaster a bit, making sure to remove any crisp edges with a surform plane, and I also went over the top of the mold with a long metal rasp to make sure all areas were level. Just a bit of clean up. I can only use the rasp on this side of the freshly poured mold because I want the next side to fit as snug as possible.
Also at this stage I drilled some keyholes with my drill and a round nose bit. These bits are expensive, but I do recommend getting one. They really do make the nicest keyholes and make life way easier. But if you don’t want to drop the money for this then I would recommend making clay keys during the first stage of building the mold.

Okay we got one side of the master mold at this point, and now I’ve got to pour the other side. Luckily this side is way easier. All I do is set up the plaster box around the plaster piece I just poured (with the mold item inside), secure the box with clay, apply my 3 to 4 layers of mold soap everywhere, let dry, and pour again.
Bing, bang, boom- we got ourselves a handle mold! One master mold down!
Now it's time to make a mother mold.
Leave a comment